Snowmobile signal lights are used to communicate with other riders to avoid accidents just like with any other vehicle. Some riders prefer to use hand signals which are also very common while some prefer signal lights. Both have their advantages and disadvantages. So let’s discuss snowmobile signal lights and hand signals.
Your Guide To Snowmobile Signal Lights And Hand Signals
What are Snowmobile Signal Lights?

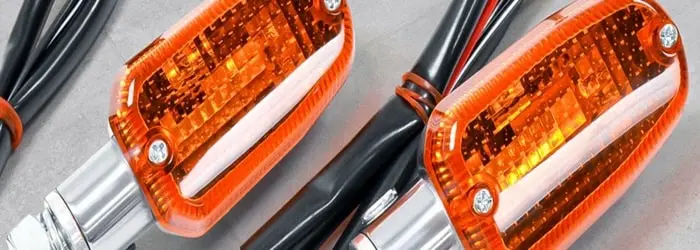
Snowmobile signal lights are electronic lights that operate in different modes discussed below. They are an alternative to hand signals and serve better at their purpose. They assure your and others’ safety, so you never have to take your hands off the handlebars. When you’re snowmobiling in a group and need to communicate with other individuals, hand signaling is a risky move.
How Do Snowmobile Signal Lights Work?
Snowmobile signal lights operate in three modes: constant yellow, steady green, and flashing yellow. The constant yellow light shows that there are more riders in the group behind the rider with his light turned on.
It will alert oncoming riders of the traffic that is following the rider. The snowmobile rider is the last group member, and there is no rider behind him, as indicated by the constant green light. Set the snowmobile signal lights to green if you are riding alone.
Alternatively, you can flash the snowmobile signal lights to alert your group members and oncoming traffic to any risks on the trail. Your fellow mates can stop to assist you, while incoming traffic is reminded to be on the watch for trail hazards.
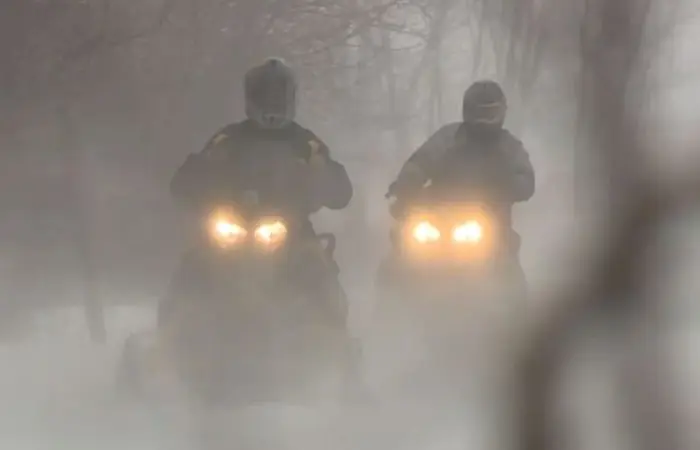
Snowmobile signal lights can be pretty useful in low visibility conditions, particularly at night. In the glare of the headlights, you may be unable to identify the number of riders approaching from the opposite side at night.
The same can be said for bad weather. A snowmobile signal light alerts you to impending traffic, allowing you to stay vigilant. In the dark or when vision is low, it is easier to see.
Why Use Snowmobile Signal Lights?

Snowmobile signal lights assure your and others’ safety, so you never have to take your hands off the handlebars. They are also much visible in stormy and foggy conditions and can be viewed from large distances.
When you’re snowmobiling in a group and need to communicate with other individuals, hand signaling is a risky move. Alternatively, if you’re seeking to attract the attention of oncoming cars on a busy trail.
Trying to steer your sled with one hand is a risky bet in winter conditions, especially when combined with fragmented focus and a high risk of split-second accidents.
Therefore it’s essential to maintain both of your arms on the steering and keep it safe.
How To Install Them On Your Snowmobile?
Overall, snowmobile signal lights are simple to install, especially for riders familiar with their sled’s electrical circuitry. Because most snowmobile signal lights use LEDs, they consume relatively little electricity and will endure for many years.
Install the control box with a bracket and attach the electrical connections to your snowmobile. There are three electrical options to connect the snowmobile signal lights to your sled. They may require you to acquire additional installation equipment.
The simplest approach to attach snowmobile signal lights is to plug them into your sled’s 12V DC outlet. For this, you may need to purchase an adaptor or a wire kit.
You can connect the lights straight to your snowmobile’s battery. When compared to the third way, creating a battery connection is slightly easier. When connecting the snowmobile signal lights to the battery, add an in-line fuse for short-circuit protection.
Alternatively, you can connect the snowmobile signal lights to the sled’s existing electronics. You will need to be familiar with your snowmobile’s wiring.
The lights themselves may have double-sided tape or sticky pads to help them attach to the sled surface. Some of these may necessitate drilling holes and bolting bolts to your sled.
Installing lights with bolts is a more secure way. They will not peel because the glue dries up over time. If you are unsure about how to install the snowmobile signal lights, you can have your local dealer or service shop do it for you.
Snowmobile Hand Signals
It is critical that you obey your advisors during your snowmobile excursion. Their sole aim is to guide you securely along the correct trail routes, resulting in an exciting and thrilling experience.
Effective guidance will necessitate communication. However, because snowmobiling is similar to scuba diving in that you and your guide are in an environment where verbal communication is unlikely to succeed, depending on hand signals is critical.
The following hand motions represent what your guides are attempting to communicate to you. Don’t be concerned. These are straightforward and simple to memorize.
 |  |  |
 |  |  |
 |
Which Is The Better Option?
Both Snowmobile Signal Lights and Hand Signals have their respective advantages. Signal lights are much more visible and safe and the rider doesn’t have to move his/her hands from the handlebar. But just like any other electrical system, it might fail.
On the other hand, hand signals are only visible when you are close. But hand signals can be discussed to be more communicative because riders can make many movement patterns with their hands. There is also some risk involved as riders need to leave the handlebar to signal.
So depending on your condition, you can choose the best one for you.
This concludes our article on Snowmobile Signal Lights|Important Hand Signals. Save it for your next ride to keep your journey safe and secure. Make sure to like and share this article with your snowmobile enthusiast friends. You can also comment down your suggestions.
You may also like How Do Snowmobiles Work?
Frequently Asked Questions (FAQs)
What are the snowmobile hand signals?
Bend your left arm’s elbow and stretch your forearm into the air to indicate the presence of an oncoming snowmobile. Bend your wrist so it points to the right. Then, cross your arms over your head from left to right. Bend your arm and lift it in the air to indicate that snowmobiles are following you.
What is the hand signal for a stop on a snowmobile?
Extend your left arm straight up into the air, over your head, to indicate that you’re stopping. Keep your hand’s palm flat. To indicate a left turn stretch your left arm straight out, parallel to your shoulder. Your arm will be pointing in the turn’s direction.
What are the hand signals for driving?
Slowing down or coming to a complete halt is signified by extending your arm downward with your palm facing backward. A straight arm out the window indicates a left turn. Turn right by extending your arm at a 90° angle upwards.
What are the 3 arm signals?
All drivers should be aware of three hand signals: left turn, right turn, and stop. In an emergency where a turn indicator light has failed, it may be your only option of alerting other vehicles to your intentions. The left arm is used to give all signals out the driver’s side window.
Which are better, signal lights or hand signals?
Both have their advantage, signals can be seen from far and you don’t have to move your hands away from the handle whereas hand signals are better for group communication but need your arms in the air.


